Understanding Light – Snowboard and Ski Photography
Snowboard and Ski Photography may seem completely different than landscapes or portraits, but understanding how light does what it does is the same with all types of photography.

(The sun was to the right for this image creating a dynamic look)
Photography is "The Study of Light". It's all about learning how light works, and what types and angles of lighting can create amazing images. The most basic form of light that you'll want to learn, comes from our sun and is the easiest to use for snowboard and ski photography. It's free to shoot with (unlike flashes..) and has the same principals that apply to any type of light, including flash. Once you fully grasp how light works and what angles look best, then it's time to start mixing in the flashes to take your work to the next level.
One of the biggest advantages that skiing and snowboarding photographers have, is the snow itself. Because the snow is white, it's like having a giant reflector for all your images. It helps you with lifestyles, shooting into the sun, and gives you a certain amount of fill for almost every angle and shot.
Different angles towards the sun will create completely different looking images. Do a little experiment and setup on a terrain park jump to really learn how the light works. You don't need to have your own athletes as long as people are hitting the feature. Now try and move around and shoot the feature from as many angles as possible. You'll quickly realize that some of the best shots are at an angle to the sun.
When the sun is right behind you, you get a fairly flat looking image. This is because you won't see any shadows cast on the subject and feature. Shadows create depth in an image. This can work, but generally won't look as exciting as any other angle.
Now take the same shot from opposite the sun, and for an even better shot, frame the sun into the image. You'll want to crank up your ISO and get your aperture fairly closed to star the sun, say f/16. Because the snow surface is very reflective, you will actually get light on your subject. It won't be an insane amount by any means (that's when flashes come in handy), but it will light up your subject in the shot, expecially with a higher ISO. Try overexposing by 2-3 stops to make this work correctly.
What you'll notice is that your shot now has more depth. This is because you can see the shadows cast by the sun. It's still not going to be a ton of depth, but the starred sun will create a more dynamic image.
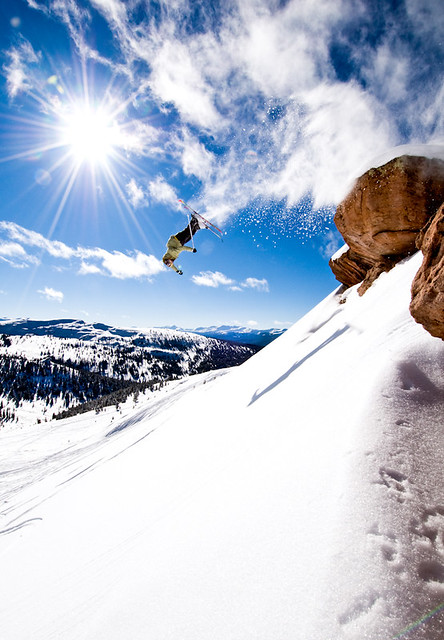
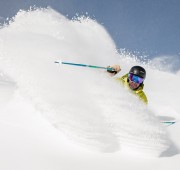
(For this shot, the sun is behind the athlete, but because snow is so reflective, the athlete is still well lit at higher ISOs.)
Next, try taking an angle to the sun, but still keep it somewhat behind you. This moves the light off to the side. By doing this, you are getting depth on your athlete and feature due to the shadows cast. Shadows make images appear more three dimensional. Don't think that shadows are bad! It's easy to think of them as distracting, which they can be, but only when they block important elements.
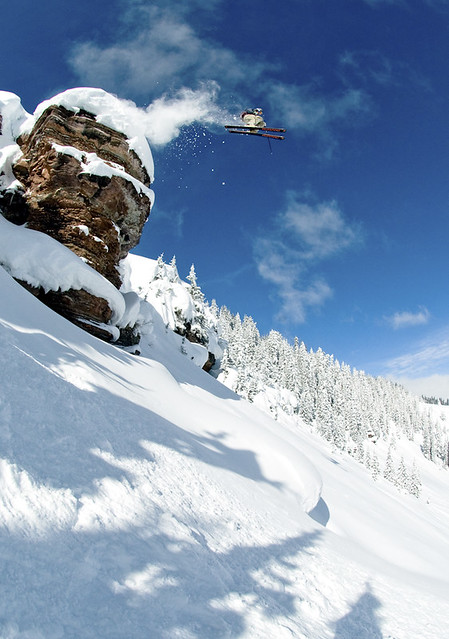
(Sun from behind and to the left.)
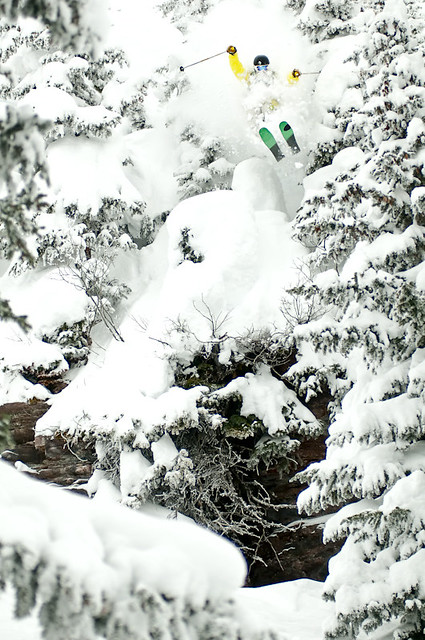
When the weather turns overcast, and the clouds get thick, the light becomes more evenly distributed as the clouds scatter it. This creates flatter looking images that are generally less appealing and dynamic. It's nice to shoot because you don't have to worry about areas that would normally be shady, but magazines tend to run less of these shots since they don't have depth. Here's a sample of a gray day shot. On gray day's you'll want to overexpose about 0.7-1 stop or the snow will look too gray.
Try composing shots on gray days with as many elements as possible to give depth to the image. It also works really well to eliminate the sky from the image if you can find an angle that works. On gray days the sky looks similar to the snow and really takes away from the image.
Finding a great angle and knowing what will always work takes practice and experimentation. The more you play around with angles, the more you'll understand how light works. Depending on the trick, feature, and angle of the sun, every shot will look better from certain angles over others. The main reason to practice in the park, is because it's easy to move angles, and prepares you for shooting in the backcountry, or up on the steep runs.
Once you feel that you fully understand how to find a great angle for lighting, it's time to start mixing in the flash!
This article is part of the snowboarding and skiing photography series on APS. Below are more articles in the series:
10 Basic Tips for Successful Skiing and Snowboarding Photography
10 Tips for Shooting Night Skiing Photos
Capturing Classic Powder Shots
Shooting Cliffs: Snowboarding and Skiing Photography
Shooting Park: Snowboarding and Skiing Photography
Composition Basics – Snowboarding and Skiing Photography



on
where was the top pic taken. looks like Copper or where you can see the “yes” or Hitchcock’s profile as you’re driving east on 70 from Vail towards Copper.
love the tips. one of these days i will actually hopefully be living out west somewhere with easy access to mountains.
have to survive on just a few days a year and would rather get some runs in. Hard to take pictures of your friends when they don’t stop or let you get ahead.
on
Thanks Joel! The top picture was actually taken at Beaver Creek in Larkspur bowl.
It’s definitely tough to shoot unless you have a good group of willing athletes. Hope you get some great shots next time your out here!