Capturing Classic Powder Shots
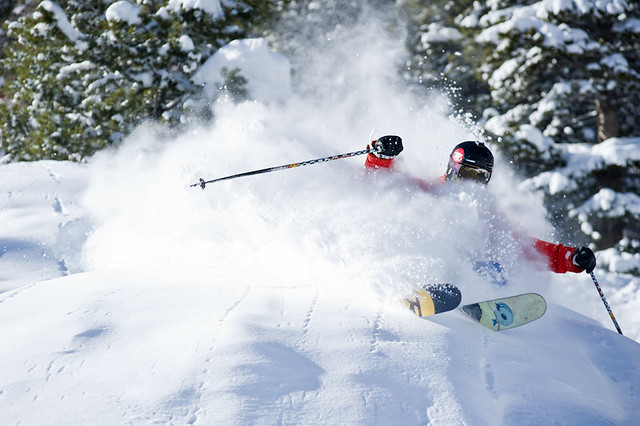
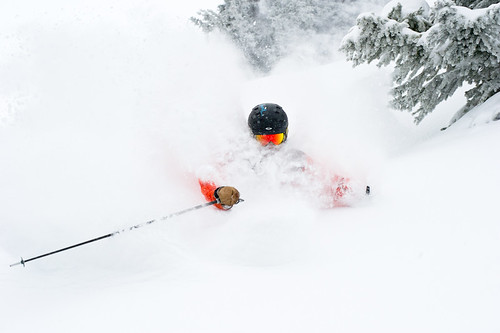
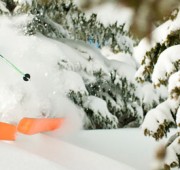
Go to any stock website, or ski resort’s website, and you see these. Head-on shots with the skier waist or chest deep in powder and getting a face shot. It’s the most common shot in skiing, and easily the most marketable. The good news? It’s actually not too hard to capture when you know what you’re doing!
For this shot, you’ll need to work very closely with the athlete. The odds of capturing it correctly increase a thousand times over if you shoot in completely untracked powder. It’s much harder to capture if there are tracks around!
Good athletes are very important for creating this type of image. If you don’t like the way an athlete holds his arms when he turns, try giving a bit of direction, or find someone better to work with. I’ve seen a lot of professional skiers that can’t take great pow shots because their style just doesn’t look good in still photos.
Find a nice open face or hallway of trees with plenty of snow and ski AROUND the area so as not to cut any tracks into the shot. Make sure the athlete knows the line and exactly where to go. Don’t start with them too far away since classic powder shots usually have the athlete fairly large in the frame. I find it’s best to shoot a sequence as they approach and turn where they are comfortable. Tell them to make sure they can see you through the whole line as this really helps with auto-focus. Also, try shooting from low to the ground just above the snow for a more dramatic and exciting look.
Now, set your camera’s focus as described in this article “Nailing Focus.” Choose a point that is not dead center. If you want the athlete to fill the frame vertically, pick a point fairly high towards the top of the frame and track their head. If you are shooting wide, choose points that are fairly far from center. This is the key component to creating a classic powder shot that doesn’t look like an amateur took it. Overly centered images are far less appealing.
It’s time to shoot! Simply have the athlete ski towards you while using your continuous auto-focus. Keep the focus point over them as they move towards you and fire a sequence. Try firing in bursts as they turn to capture the key face shot. If all goes well, you should have several good shots from each run like this.
Practice makes perfect and it will take some time before you can nail this technique consistently. Get out there every chance you get and you’ll pick it up!




on
What kind of camera do you use?
on
I shoot a Nikon D3S or a D300 and Daniel shoots the Canon 1D mark III or the 5d Mark II.
on
Great tips! Did you guys take all of these shots?
on
Thanks Joe!
All the shots on APS were taken by us.
Pingback: Understanding Light – Snowboard and Ski Photography - Action Photo School | Photography Tips