10 Basic Mountain Bike Photography Tips
Bike photography is a ton of fun, and bikers are probably the nicest people in the world. I don’t know why it’s that way but I’m not complaining! Mountain biking is also way more intense than most people realize. Capture the intensity so that the general public can understand what bikers are doing.
There are so many awesome moments on a bike, and it’s tough to capture the feeling the rider gets every time they turn those cranks. Follow these tips and you’ll be on your way to capturing vibe and emotion with your biking images!
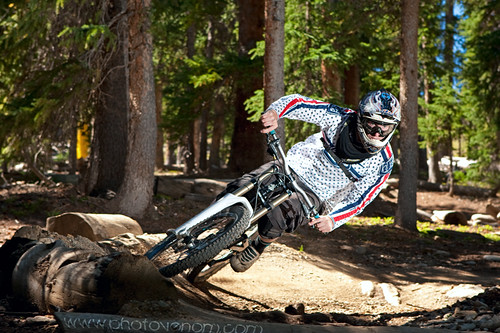
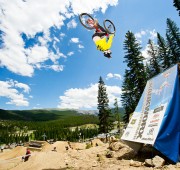
- Shoot from crazy angles. Get creative with your angle, you are an artist aren’t you? The more extreme the angle, chances are your shot will be more extreme. Find the best angles. Go up on a ladder, climb a nearby hill, or get in as close as possible.

- Go Wide. There’s a reason why wide-angle shots of extreme sports are published so frequently. They add excitement and environment to the shot. Use your wide lens! With a wide lens you can get in close and still show off a lot.
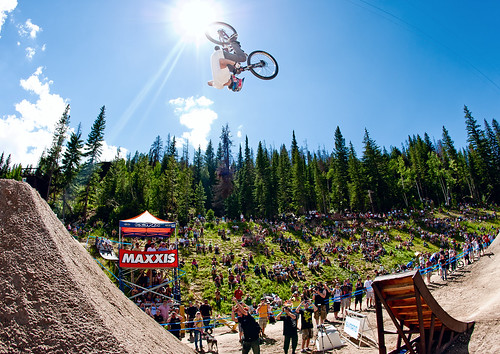
- Carry a comfortable backpack. We have few packs that we recommend for this type of shooting. Dakine Sequence, Burton F-Stop, and F-Stop bags are the best and won’t knock you off your bike when you hit a bump. A great backpack can save your back.
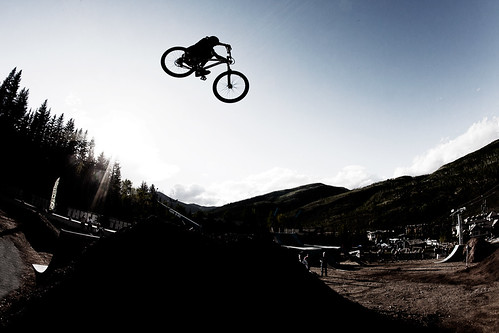
- Shoot all the moments, not just the action! The down moments in biking, like when the athlete is lining up a jump, give an insight into the athlete’s lives. It’s not all action all the time, you gotta have some down time too. You can’t tell a story with just action.

- Trigger a flash. Most biking takes place in spottily lit forests. Flashes will make your work pop. They separate your work from the masses and give depth to your images. Use them regularly.
- Shoot into the sun. The Sunny 16 rule can be read about here. Starred out suns make images more exciting and dynamic. They also add a very uplifting feeling to the image. Make your viewers smile!
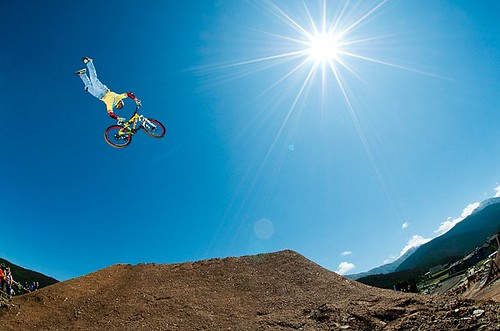
- Zip that pack up. The one time you forget your gear will get dusted. It’s the way it works…. It sucks to clean dirt and mud off gear so take that extra second before you tell the athlete to drop.

- Get the flash off camera. Bring depth to your shots and put the light off to the side. Plus, when your shooting an athlete from the side, wouldn’t you rather have them lit from the front to show their face in detail? Read this article to learn how to get your flash off camera, and for the mother-load of off-camera flash knowledge, check out www.strobist.com. We also have a video for how we captured the shot below that helps here.
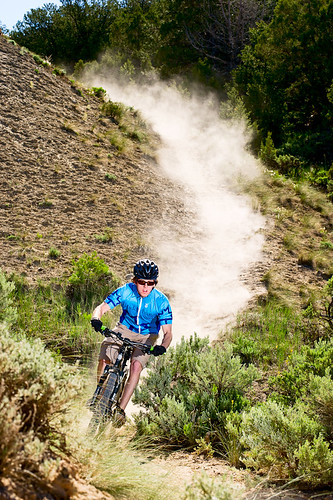
- Pre-focus. Bikers are FAST. It’s better to target one specific moment rather than using continuous focus and capturing a bunch of blurred shots. Pre-focus on an object that your athlete will go over or past at the key moment. Then flip the focus switch to manual to lock it in. Learn focusing with some tips here: Nailing your Focus.
- Compose with a foreground/background element. Add some environment to the image. Whether it’s a tree framing the biker, a mushroom on the trail in the foreground, or scenic mountains in the background. Use the environment to make the image far more interesting.


on
I was shooting some wakeboarding for the first time a few weeks ago and learned about the pre-focus trick. That helped make my pictures turn out sooooo much better.
on
Some great tips… paged bookmarked.
Re the flash. Totally agree. Just don’t do what I did (see the link), and have the plate on hot shoe come off thus killing your chances of using said flash.